Surface preparation is key to achieving superior results in your interior house painting project. Although you may be anxious to see the job finished, taking the time to prep your surfaces will be well worth it.
The first step in prepping a room is to protect those areas and items you don’t want painted.
- Drop cloths save floors and furniture from drips and spills;
- Moving furniture, if possible, allows for free movement from one painted area to another;
- Removing light switch plates and outlet covers allows for complete coverage and a crisp, finished look.
The next step is to ready all surfaces for painting:
- Washing walls (and trim if necessary) with mild soap and water allows for better paint adherence.
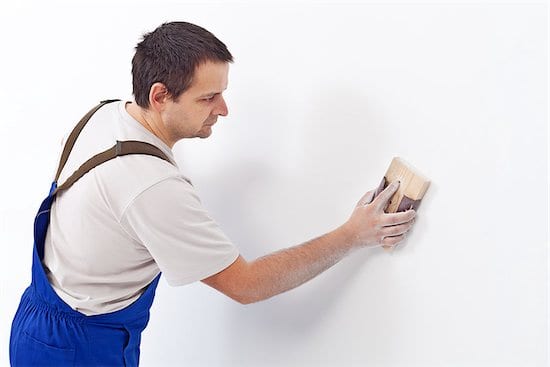
- Removing nails and picture hangers, filling in holes with spackle or a dry wall compound and sanding those areas provides a smooth surface for painting.
- Caulking any gaps that have formed between walls and baseboards or by window and door casings removes these unsightly spaces.
Now, your room is ready for paint – almost. Any problem areas (stains, water marks, repaired holes) should be spot primed. Using a primer similar in color to your paint, if possible, allows for more uniform coverage, as does making sure your paint is thoroughly mixed. For larger rooms, this may require pouring paint into a bigger container for thorough mixing.
There is a lot involved with surface preparation when painting a room, but in the end it’s worth it. Attention to the preparation details is the difference between an amateur and a professional job